Grow premium top-shelf cannabis that dominates your market! These 10 game-changing commercial grow tips work for indoor spaces, vertical farms and greenhouses. Master Sunritek OG8 LED tuning, nutrient cycles and curing to crank up resin, terpenes and batch profits.
Legal Disclaimer
This educational guide is for licensed adults operating indoor/greenhouse cultivation in regions where weed growing is legal.This is not legal/medical advice; unlicensed commercial cultivation is banned.
Producing high-yield, resin-dense weed requires standardized industrial cultivation processes, not just basic watering and feeding. This guide covers 10 core commercial cultivation strategies, including frequently overlooked industrial-grade practices: precise pH/EC management, pre-harvest nutrient flushing, and standardized curing workflows. All techniques are optimized for indoor grow facilities, climate-controlled greenhouses, and vertical farm production systems.
1. Pick High-Quality Strain Seeds
Start with trusted breeders and feminized seeds, which produce nearly all female plants (only females yield smokable buds). Regular seeds carry a 50% chance of male plants; their pollen pollinates buds and ruins potency.
Indica: Short, compact, perfect for small indoor spaces,multi-layer vertical farm racks and dense indoor grow rooms
Sativa: Tall, suited for high-ceiling commercial greenhouses,outdoor open yards
Hybrid: Most popular, balanced yield and aroma
Autoflower: Low-maintenance, fast full growth cycle
Implement strict crop segregation to remove any male plants immediately and stop cross-pollination across production zones.
2. Strict Light Schedules for Growth & Bloom
Vegetative stage: 18 hours light / 6 hours full dark for 4–8 weeks; no light leaks overnight.
Flower stage: Switch to 12/12 light-dark cycle to trigger bud and resin growth.
Sunritek OG8 3-channel led grow light are ideal for indoor grows, vertical farms and greenhouses.
Three independently adjustable channels cover blue, deep red, and white + far-red combined spectrum. Tuning each channel optimizes compact veg growth and boosts resin & terpenes in bloom.
Low heat cuts cooling costs and supports multi-tier rack stacking. Pair with automated CO₂ systems for higher, uniform yields.
3. Stable Temp, Humidity & pH/EC Control
Keep temperature 20–28°C through all stages. Adjust humidity: 60%-70% for seedlings, 50%-65% in veg, drop to 40%-50% in late flower to stop mold.Use oscillating exhaust fans for constant airflow. Keep soil pH 6.0–6.8 and test EC levels regularly; unbalanced nutrients cause yellow, sick leaves.
4. Proper Medium & Watering Rules
Indoor mix: coco coir + perlite + aged compost, paired with breathable fabric pots to avoid compacted substrate. Water only when the top 1–3 inches of medium dry out fully, then soak until runoff. Overwatering causes fatal root rot; cut water amounts in late flower for thicker resin.
5. Stage-Based Feeding + Critical Pre-Harvest Flush
Feed high nitrogen in veg for leaf growth. Once flowering starts, switch to high phosphorus and potassium and cut nitrogen entirely.Organic feeds deliver cleaner natural flavors; synthetic liquid nutrients offer precise control but build up salt over time.Flush with plain pH-balanced water 7–14 days before harvest to wash away excess salts and remove harsh chemical taste.
6. Prune & Train Plants for Better Light Penetration
Use LST low-stress bending and HST topping to spread out branches. Add a SCROG net during bloom to eliminate shaded inner growth, greatly boosting bud output. Strip unproductive lower fan leaves to redirect nutrients to top buds.
7. Trellis Support to Prevent Broken Branches
Mature heavy buds bend and snap branches easily. Secure plants with bamboo stakes and soft nylon trellis netting, suspend buds away from damp soil to avoid mold contamination. Outdoor gardens need extra wind support to prevent lodging.
8. Organic Pest & Mold Prevention
Check leaf undersides daily for spider mites, aphids and mildew. Yellow sticky traps and diluted neem oil work for pest outbreaks. Consistent airflow and low night humidity are the best ways to stop bud rot and powdery mildew. Organic treatments preserve pure bud flavor.
9. Harvest at the Exact Right Window
Use a magnifying glass to check trichome crystals on buds. The ideal harvest time is when 70%–90% of trichomes turn milky white, with 10%–20% amber heads.Clear trichomes mean underripe weak potency; fully amber trichomes create heavy sedative effects. Cut off thick woody stems right after harvesting.
10. Slow Dry & Cure for Smooth, Rich Flavor
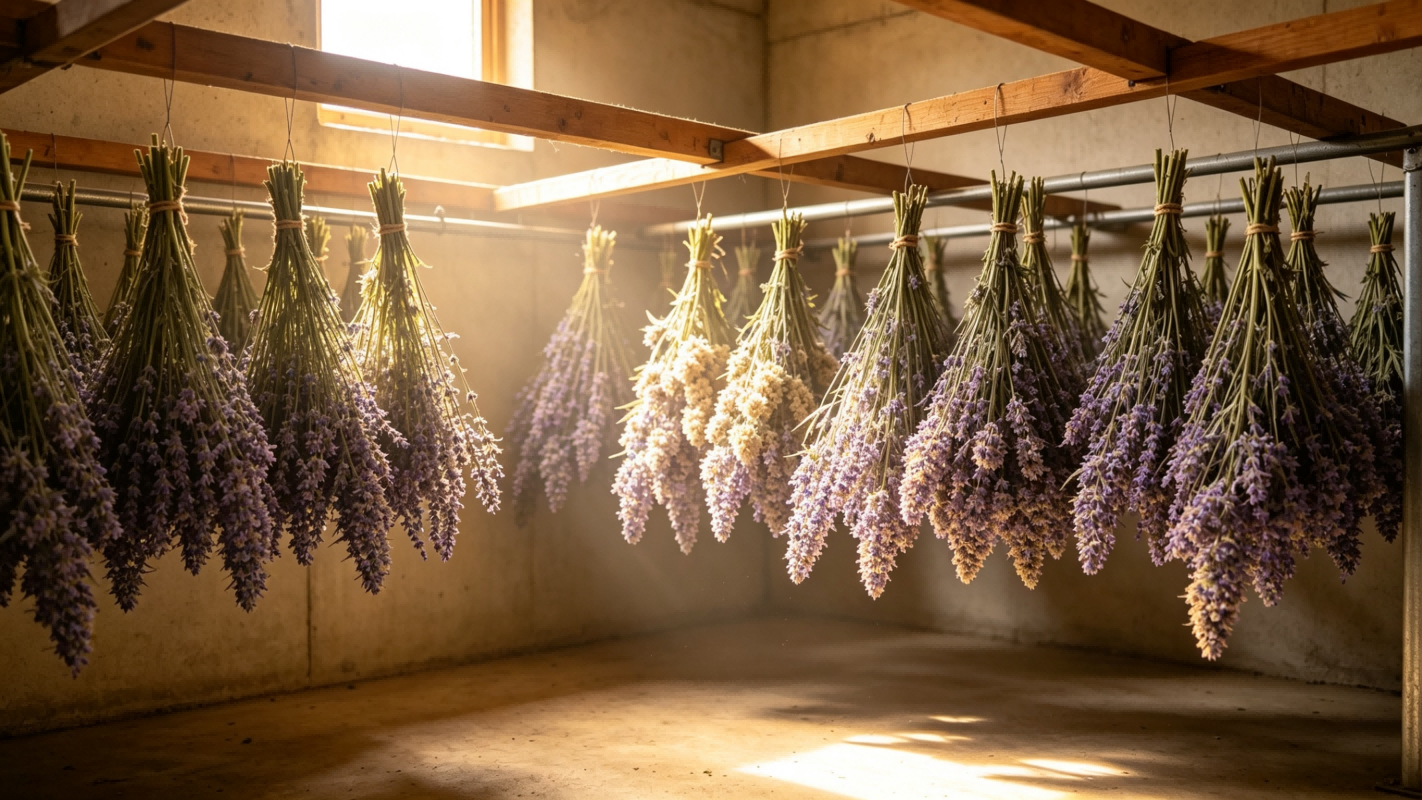
Drying: Hang trimmed buds upside down in a dark, ventilated room at 18–22°C and 45%-55% RH for 7–14 days, until small stems snap cleanly.
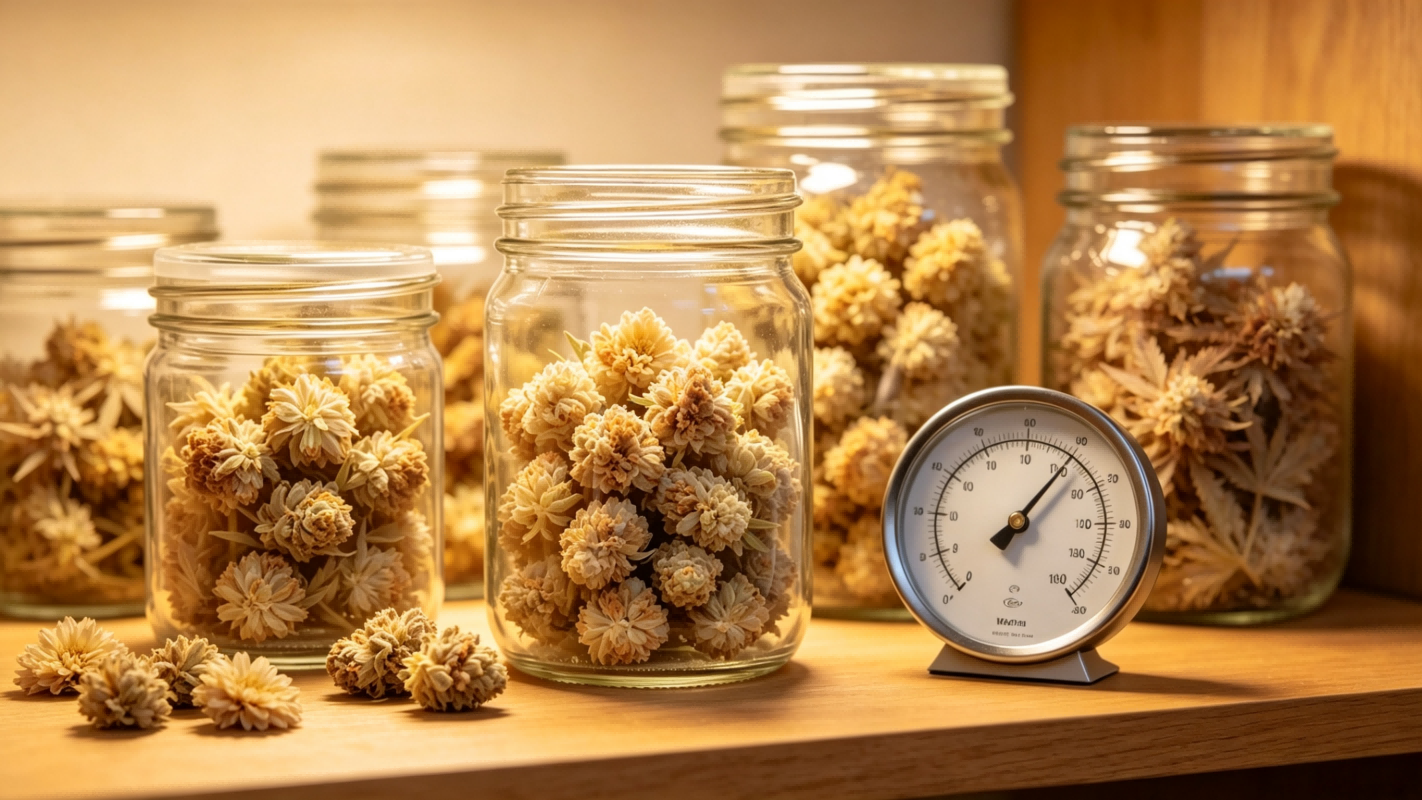
Curing: Place dry buds in opaque airtight glass jars with 58%-62% RH humidity packs. Burp jars every 2–3 days for the first two weeks to release trapped moisture. Cure for 2–8 weeks to unlock full terpene aromas. Store sealed jars in cool dark cabinets long-term.
Conclusion
Premium weed cultivation relies on stage-by-stage fine-tuning: start with matching seeds and balanced soil pH, control light, humidity and feeding mid-cycle, then nail harvest timing plus slow curing. New growers can start small with indoor fabric tents and hybrid feminized seeds. Master flushing, pH testing and curing first, and you will consistently grow dense, aromatic, potent weed every harvest.
